How to Build a Nonprofit Website on WordPress
October 2, 2026 Written by Maria


October 2, 2026 Written by Maria
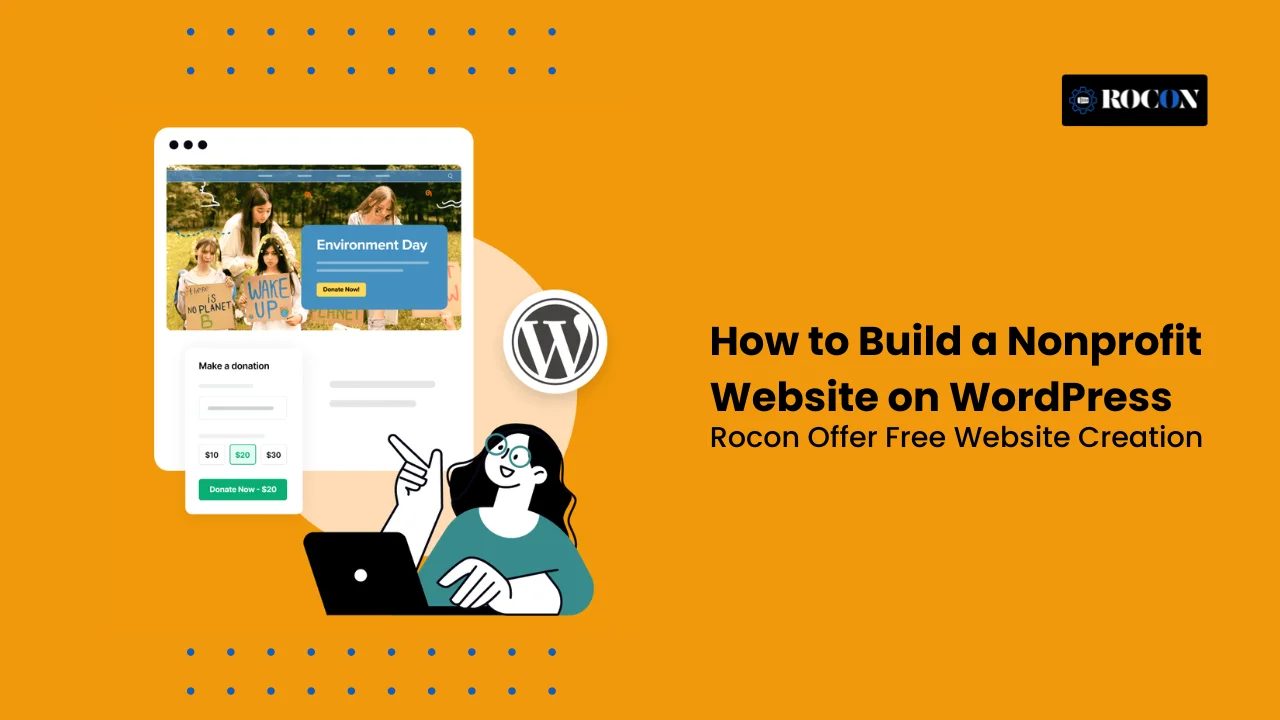


Building a nonprofit website with WordPress gives your organization a place to share its mission, show the work you’re doing, and make it easy for people to support your cause. Whether you want visitors to donate, volunteer, sign up for updates, or simply learn more about your organization, your website can bring all of those actions together.
For many nonprofits, budget is a major consideration. Hiring a developer to build and maintain a website can be expensive, especially when your resources are better spent supporting your programs and community. WordPress offers a more affordable option, with flexible themes, plugins, and tools that let you build and manage a website without advanced technical skills.
You can use WordPress to publish your organization’s stories, accept online donations, create volunteer forms, highlight upcoming events, and keep supporters informed. With the right hosting, theme, and plugins, you can also build a website that loads quickly, works well on mobile devices, and is easy for search engines to understand.
In this guide, we’ll walk you through how to build a nonprofit website on WordPress, from choosing hosting and a suitable theme to adding donation tools, creating important pages, and improving your site’s SEO.
By the end, you’ll have a clear roadmap for creating a nonprofit website that represents your organization and makes it easier for people to support your mission.
Choosing a platform for a nonprofit website usually comes down to three things: cost, flexibility, and ease of management. WordPress checks all three boxes, which makes it a practical option for charities, NGOs, community groups, and other mission-driven organizations.
Here are some of the main reasons nonprofits choose WordPress:
For nonprofits working with limited resources, WordPress provides a good balance between affordability and control. You can start small, manage the site yourself, and add the tools you need as your organization grows.
Before choosing a theme or installing plugins, you’ll need reliable WordPress hosting. Your hosting provider plays a role in your website’s speed, security, uptime, and ability to handle traffic.
This matters even more during fundraising campaigns, donation drives, or awareness events when your site may receive a sudden increase in visitors.
Rocon managed WordPress hosting is one option worth considering if you’re looking for managed WordPress hosting. It uses container-based infrastructure and includes features such as SSL, automated backups, staging, security tools, and WordPress setup.
Once your domain and hosting are ready, the next step is installing WordPress. Most managed WordPress hosting providers handle much of the setup for you, so you can get your nonprofit website online without dealing with databases or server configuration.
Many WordPress hosts provide a one-click installation option in their hosting dashboard. Providers such as Rocon, Bluehost, and SiteGround offer tools that can set up WordPress without requiring you to manually create a database or upload WordPress files.
If your hosting provider doesn’t offer one-click installation, you can also install WordPress manually or follow the provider’s setup instructions.
After installation, you’ll have access to your WordPress dashboard, usually through:
yourdomain.org/wp-admin
Create a strong administrator password and avoid using simple or easily guessed login details. Your WordPress dashboard is where you’ll manage your pages, posts, themes, plugins, donation tools, and other website settings.
Before you start designing the website, take a few minutes to configure the essentials:
Open your domain in a new browser window and make sure the site loads correctly. Also check the website on a phone to catch any basic display issues before you begin customizing it.
Once WordPress is installed and the basic settings are in place, you’re ready to choose a theme that fits your nonprofit’s mission and makes it easy for visitors to donate, volunteer, or learn more about your work.
Your theme controls the visual design of your nonprofit website, from the layout and typography to colors, navigation, and page structure. A good theme should make your organization look trustworthy while keeping important actions such as donating or volunteering easy to find.
You don’t necessarily need a theme made specifically for charities. Many lightweight WordPress themes can work well for nonprofit websites when they give you enough control over the layout.
When comparing themes, look for:
Popular options include Astra, GeneratePress, and OceanWP, while nonprofit-specific themes can also be considered if their features match your needs.
Your website should work well for everyone, including people using phones, tablets, screen readers, keyboards, or other assistive technologies.
Choose a lightweight theme with clean layouts and accessible navigation. Look for good color contrast, readable text, clear buttons, and properly structured headings.
You can also test your website with Google PageSpeed Insights after setting up the theme. Remember that your theme is only one part of performance. Hosting, plugins, images, fonts, and third-party scripts can also affect loading times.
After installing your theme, customize it to match your nonprofit’s identity. Depending on your theme, you can usually find these options under Appearance → Editor or Appearance → Customize.
Consider updating:
Keep the design consistent across important pages so visitors immediately recognize your organization.
A nonprofit website doesn’t need flashy animations or a complicated homepage. Make the important information easy to find.
Your visitors should quickly understand what your organization does, who it helps, and how they can get involved. Keep donation buttons visible, use clear calls to action, and avoid design elements that slow down the site or distract from your message.
Your homepage is the heart of your nonprofit website — the first impression that can turn visitors into supporters. A great home page doesn’t just describe your mission; it inspires action.
At the very top, feature a striking image or short video that reflects your organization’s impact — a smiling volunteer, a reforestation drive, or a community event. Pair it with a clear, emotionally driven headline, like “Together, We Can End Hunger” and a strong Call-to-Action (CTA) button — “Donate Now” or “Get Involved.”
In 2–3 short paragraphs, explain who you are, what you do, and why it matters. Keep it personal and mission-focused. Use simple language that builds trust and connection rather than corporate jargon.
Add quick stats or visuals — “5,000 meals served,” “1,200 trees planted,” or “100+ volunteers.” These numbers validate your work and inspire confidence.
Add testimonials, partner logos, or photos from your initiatives. End the page with another clear CTA — invite visitors to donate, subscribe, or volunteer.
Pro tip: If you’re using a page builder like Elementor or the WordPress block editor, you can easily customize your layout with drag-and-drop blocks — no coding needed. Keep whitespace, large text, and consistent colors for a polished, professional look.
Once your homepage is ready, it’s time to build the rest of your website. Each page should serve a purpose — telling your story, showcasing your impact, and making it easy for visitors to get involved.
Your About page should share your nonprofit’s story, mission, and the people behind it. Highlight your founders, core team, and board members. Use real photos, not stock images, to build authenticity. Add a short timeline of milestones to show your growth and credibility.
Use this page to explain where donations go and what outcomes they create. Break programs into categories or campaigns and include visuals or short success stories. This helps donors see tangible results.
Your Donate page should be distraction-free with one clear call-to-action. Integrate trusted donation tools like GiveWP or Charitable, and ensure mobile-friendly payment forms. Offer recurring donation options for consistent support.
Share updates, stories, and event recaps to keep your community informed and boost SEO visibility.
Include your email, contact form, location map, and links to social profiles. Adding a response time note (“We reply within 24 hours”) builds confidence.
A Contact Us form is more than just a way to reach you — it’s a key bridge between your nonprofit and potential donors, volunteers, or partners. When designed right, it builds trust and encourages engagement.
For WordPress, popular contact form plugins include WPForms, Contact Form 7, and Gravity Forms. If you’re looking for an easy, drag-and-drop experience, WPForms Lite is perfect for nonprofits — you can create and embed forms in minutes without any coding.
Only ask for essential information:
The shorter your form, the more responses you’ll receive.
After someone submits a message, display a friendly thank-you note like “Thanks for reaching out! We’ll get back to you within 24 hours.” For a more professional touch, set up an automated email confirmation to acknowledge their inquiry.
Enable reCAPTCHA or use your form plugin’s built-in spam filters. This ensures your inbox stays clean and genuine.
Accepting donations isn’t just a technical task — it’s a conversion problem that mixes psychology, UX, trust signals, and friction reduction. A single poorly designed field can cut conversions dramatically. Below is a practical, evidence-driven approach to building donation forms that convert.
Start with an impact-first copy. Use a short emotional headline (“Help Maria Get Back to School”) followed by a one-line impact statement (“Your $25 feeds one child for a week”). People donate to outcomes, not features — make the result concrete. Put the headline above the form and the impact statement near the primary CTA.
Less is more. Recommended field order:
Keep required fields to the bare minimum. Each additional required field roughly reduces conversion by ~5–10%.
Offer 3–4 preset amounts (e.g., $25 / $50 / $100 / $250) and a clearly labeled “Other” input. Presets anchor donors to common choices and increase average order value; an “Other” field captures flexible givers. Test different presets (e.g., $25/75/150 vs $20/50/100) to find the highest-converting mix.
Always include a recurring option and make it prominent. Allow donors to select monthly, quarterly, or yearly. Label the benefit of recurring gifts (“Sustainers power ongoing programs”), and consider offering a small one-time reward or recognition for recurring donors.
Support major gateways: Stripe (preferred for card processing & Apple/Google Pay), PayPal, and local options where relevant. Offer fee-recovery by optionally asking donors “Add X% to cover processing fees?” but default it to opt-out for higher take rates. Provide clear gateway logos and security badges to build trust.
Show immediate trust signals: SSL padlock, PCI-compliance statement, donor privacy line, and an automatic receipt email. Add GDPR consent checkboxes with links to the privacy policy. For US nonprofits, include tax receipt wording and donor acknowledgment fields tied to email.
Run tests with realistic traffic (even small paid campaigns work) and measure conversion rate, average donation, and recurring conversion %. Publish your results as original data — that’s a powerful credibility and link-building asset.
When it comes to nonprofit websites, donor trust is your most valuable currency. People contribute because they believe in your mission — and they expect you to protect their personal and financial information in return. A single data breach or unsecured transaction can seriously damage your credibility and future fundraising efforts.
That’s why it’s essential to make your website 100% secure and compliant with data protection standards. Here’s how to do it effectively:
An SSL certificate ensures that all information shared between your visitors and your website — such as credit card details, email addresses, or contact form data — is encrypted and protected from hackers.
Pro tip: Without SSL, Google marks your site as “Not Secure,” which can discourage donors from completing transactions.
If you accept donations online, make sure your payment processor follows PCI DSS (Payment Card Industry Data Security Standards). This ensures that credit card data is processed, transmitted, and stored securely.
Top PCI-compliant gateways for WordPress include:
By using these gateways, you’re ensuring donor data never passes through your server, reducing your security risk.
Transparency fosters trust. Every nonprofit website should clearly state how donor and visitor information is collected, used, and protected.
Your Privacy Policy should include:
You can use free tools like Termly, PrivacyPolicies.com, or Iubenda to generate a GDPR-compliant privacy policy for your website.
If your nonprofit collects visitor data (e.g., through analytics, forms, or remarketing tools), it must comply with privacy regulations like GDPR (Europe) or CCPA (California).
To comply:
Plugins like CookieYes or Complianz make GDPR/CCPA compliance simple and automatic.
Even if your site looks great, it’s not safe unless it’s protected from brute-force attacks, malware, or spam.
Install one or more of these trusted WordPress security tools:
Don’t forget to:
Bonus Tip: Rocon Managed WordPress Hosting includes automated backups and isolated containers, meaning even if one site faces an issue, it won’t affect another — adding an extra layer of security for your nonprofit.
Security is never a one-time setup — it’s an ongoing effort.
Building donor trust isn’t just about collecting funds — it’s about creating a secure and transparent online experience. When your supporters know their data is safe, they’re more likely to give again and recommend your organization to others.
With a reliable host like Rocon, SSL encryption, PCI-compliant gateways, and proactive security plugins, your nonprofit website can stay fully protected — allowing you to focus on what truly matters: your mission.
Hosting events — whether virtual fundraisers, local drives, or awareness campaigns — is one of the most effective ways to engage your supporters. Adding an events calendar to your WordPress site helps your community stay informed and involved.
The easiest way to manage and display events is by using plugins like:
These tools integrate seamlessly with most nonprofit themes and page builders.
Each event listing should include the event title, date, time, venue (or Zoom link), and a clear registration button. Include short descriptions about why the event matters and what participants can expect.
Encourage attendees to share events on social media using share buttons. You can also add a “Subscribe to Events” option so supporters receive updates automatically.
Pro tip: Create a dedicated Events page and link it from your navigation menu — it keeps your website dynamic and encourages repeat visits.
Your supporters don’t just visit your website — they follow your story on social media too. Integrating social media feeds on your WordPress site builds credibility, encourages real-time engagement, and keeps your content fresh automatically.
Use plugins that pull your latest posts directly from platforms like Facebook, Instagram, X (Twitter), or LinkedIn. Some top options include:
These plugins let you customize the layout and design so the feeds match your website’s theme.
Add your social feed to your homepage, sidebar, or footer — areas that naturally attract attention. For campaigns or fundraisers, create a Live Updates section showcasing posts from volunteers or donors.
Add social sharing buttons on every blog post and campaign page. This turns your supporters into advocates who spread your mission organically.
Pro tip: Keep your social feed positive and authentic. Highlight impact stories, donor shoutouts, and behind-the-scenes content — these build trust and emotional connection.
A well-organized navigation menu ensures visitors can easily find what they’re looking for — and it helps search engines understand your site’s structure. For a nonprofit, a clear, intuitive menu is key to improving engagement and driving donations.
Your navigation should focus on 5–7 top-level items that represent your nonprofit’s priorities. A typical menu might include:
Avoid overcrowding the menu. Each label should be short and self-explanatory.
If you have multiple campaigns or initiatives, use dropdowns under “Programs” or “Events.” This keeps the design clean while still allowing visitors to explore specific areas.
Go to Appearance → Menus to create or edit your menu. You can rearrange items with drag-and-drop and assign the menu to the “Primary” location (usually your site header).
Ensure your menu is keyboard-accessible and mobile-friendly. Add secondary navigation in the footer for quick links like Privacy Policy, Terms, or Volunteer Opportunities.
Pro tip: Keep your Donate button in the top-right corner — bold, visible, and consistent across every page.
Your nonprofit website is live, but there are still plenty of ways to make it more useful and reach more people.
Use clear page titles, headings, meta descriptions, and relevant keywords. Publish real stories, project updates, and information about your work. Helpful, original content can bring more people to your website through search.
Add a simple signup form so visitors can receive newsletters, campaign updates, and event information. Keep your emails useful and give people a clear reason to stay subscribed.
Share your latest stories, events, campaigns, and updates on platforms such as Facebook, Instagram, and LinkedIn. Link back to the relevant pages on your website when there is more information to share.
Use Google Analytics and Google Search Console to see how people find and use your website. Check your traffic, search queries, popular pages, and any technical issues that need attention.
As your traffic grows, your hosting needs may change. If your website starts getting slower or struggles during fundraising campaigns, compare hosting options with better resources and support.
Rocon Managed WordPress Hosting is one option you can consider. It includes features such as automated backups, security tools, staging, and scalable infrastructure. Rocon also offers a 30-day free trial, giving you time to test the service before making a decision.
Keep your website updated, useful, and easy to use. Small improvements over time can help more people discover your nonprofit and support your work.
Building a nonprofit website with WordPress gives your organization more than a place to share information. It gives supporters a simple way to understand your mission, donate, volunteer, attend events, or stay connected with your work.
From choosing reliable hosting and a suitable theme to setting up donation forms and improving your SEO, each part of your website should make it easier for visitors to take the next step. You don’t need an expensive custom website to get started. WordPress gives smaller organizations plenty of room to build and improve their site over time.
If you’re comparing managed WordPress hosting options, Rocon is one platform you can consider. It includes features such as automated backups, SSL, staging, security tools, and managed WordPress infrastructure, which can reduce some of the technical work involved in running a website. Rocon also offers a 30-day free trial, so you can test the platform before deciding if it fits your nonprofit.
Most importantly, start with what your organization actually needs. A clear message, trustworthy information, easy navigation, and simple ways to get involved will matter far more than having a complicated design.

Elevate your WordPress hosting with 30-day money-back guarantee, free migration, and 24/7 support.
Sign Up Today
Before You Go… Get 1 Month FREE on Rocon Hosting!

Experience lightning-fast speeds

No downtime or hidden fees

Dedicated 24/7 expert support

Leave a Reply