WordPress Featured Image Blog Post Divi Size: Ultimate Guide
December 3, 2025 by James
December 3, 2025 by James
If you’ve ever struggled with the right WordPress featured image blog post Divi size, you’re not alone. One of the most common frustrations Divi users face is uploading a featured image only to find it cropped, blurry, or oddly stretched when displayed on a blog post or grid. The problem isn’t just cosmetic — wrong image sizes can slow down your site, hurt SEO, and even ruin how your posts look when shared on social media.
This will cover everything you need to know about Divi featured image sizes. From exact pixel dimensions for each layout to export tips, code snippets and optimization strategies you’ll have a complete blueprint for perfect images. By the end you’ll know how to create featured images that look great, load fast and display correctly on all devices without trial and error.
Before we get into the basics of the sizes, it’s really worth understanding how WordPress and Divi handle images.
When you upload a featured image in WordPress it automatically generates a bunch of sizes: thumbnail, medium, large and a full size image.
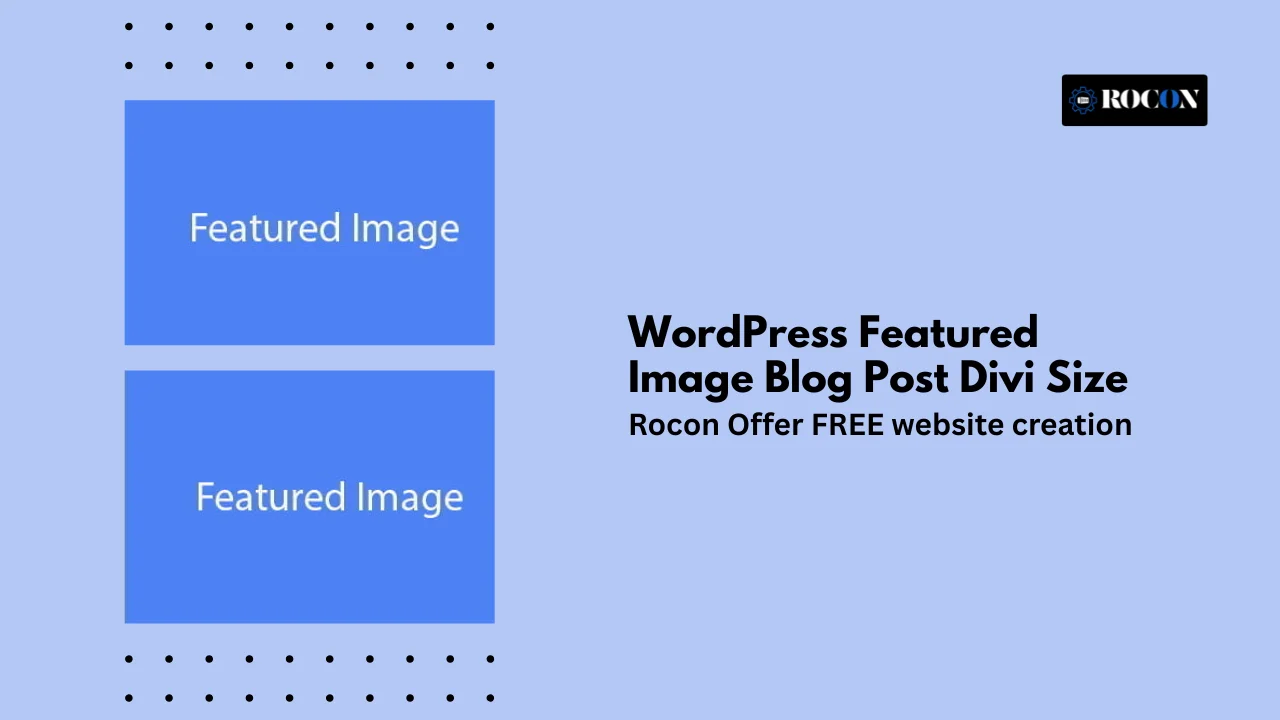
Then Divi takes that and kicks it up a notch by creating its own image sizes for its various modules – like the Blog Module. For example, Divi creates a 400×250 thumbnail for blog post listings. That’s why many users notice their featured images get cropped.
Another important detail is aspect ratio. Now the Blog Module in Divi has this 16:10 aspect ratio, so if you go and upload an image that isn’t roughly that shape, when it’s used in the Blog Module, it will be cropped to fit , because that’s just how Divi is designed.
That’s why a featured image might look a bit different when you use it in a full width layout, as opposed to how it looks in a grid layout.
Finally, remember that Divi displays featured images in multiple places:
Each location demands a slightly different size, which is why having a clear cheat sheet (we’ll build one below) is crucial.
Here’s the reference you’ve been looking for. If you want your images to display perfectly in Divi without cropping or distortion, use these recommended sizes:
| Divi Layout / Column | Recommended Size | Aspect Ratio | Retina (2×) Size | Typical Use Case |
| Single post header / full-width blog module | 1080–1920px wide | 16:9 or 16:10 | 2160–3840px wide | Hero images, large headers |
| 2/3 column | 700px wide | 16:10 | 1400px wide | Blog grid with larger cards |
| 1/2 column | 510px wide | 16:10 | 1020px wide | Two-column layouts |
| 1/3 column | 320px wide | 16:10 | 640px wide | Blog grids, small previews |
| Grid/list thumbnail (Divi default) | 400×250px | 16:10 | 800×500px | Blog Module default thumbnail |
| Social/OG sharing | 1200×628px | ~1.91:1 | 2400×1256px | Facebook, LinkedIn, Twitter previews |
Pro Tip: If you want a one-size-fits-all solution, export images at 1200×675px. It aligns closely with Divi’s aspect ratio, looks good on most grids, and works well for social sharing.
If your featured images look wrong, it usually comes down to one of these issues:
Here’s the workflow I recommend for creating flawless featured images:
The biggest problem with the Divi featured image is images stretching, blurring or getting cropped weirdly in different layouts. The good news is Divi gives you loads of control through the Blog Module and other design settings—you just need to know which ones to use and when. Let’s get into it.
When you drop a Blog Module into your Divi layout, you’ll find a setting called “Featured Image Size” under Design → Layout → Featured Image. By default, you’ll usually see three choices:
This is where many Divi users get confused. Both “Full” and “Large” sound like they’ll deliver high-quality images, but the choice really depends on your workflow:
Pro tip: If you want the best of both worlds, register a custom Divi image size (e.g., 800×450 for blog grids) in your child theme. Then you can assign that size specifically for your Blog Module, keeping consistency and performance in check.
Divi offers two primary ways to display blog posts visually:
Here’s how they handle featured images differently:
Here’s a step-by-step approach that solves 90% of Divi featured image headaches:
By using these Divi settings and blog module options you can control the WordPress featured image across your whole site. The key is consistency: choose one workflow, stick to the same aspect ratio and let Divi do the rest.
Even with the right upload size, Divi sometimes insists on cropping your featured images. Here are two reliable fixes you can apply — one quick CSS tweak, and one safer developer approach.
If Divi’s Blog Module is cropping your images to a fixed aspect ratio, you can override it with custom CSS.
Go to Divi → Theme Options → Custom CSS and paste this:
.et_pb_image_container img {
object-fit: cover;
height: auto;
width: 100%;
}
This tells Divi to display the full image proportionally rather than force-cropping it. The object-fit property is the hero here — it makes sure your images fill their container without distortion.
Best for: Non-technical users who want a quick fix without touching theme files.
If you want total control, register custom image sizes that align with Divi’s column widths. Add this code to your child theme’s functions.php file:
function custom_divi_image_sizes() {
add_image_size(‘divi_full’, 1080, 0, false); // full width
add_image_size(‘divi_two_third’, 700, 0, false);
add_image_size(‘divi_half’, 510, 0, false);
add_image_size(‘divi_one_third’, 320, 0, false);
}
add_action(‘after_setup_theme’, ‘custom_divi_image_sizes’);
Then, install and run the Regenerate Thumbnails plugin so WordPress creates these sizes for all your existing images.
Best for: Developers or site owners who want consistent sizing across all posts and layouts.
To take the functions.php method further, you can explicitly tell Divi to use these new sizes. Here’s how:
By doing this, you’re making sure Divi doesn’t guess which WordPress size to use — you’re telling it exactly what you want. This approach keeps everything consistent and avoids the blurry-or-cropped lottery.
A stunning featured image means nothing if it slows down your site. Google cares about speed, and users bounce from slow-loading blogs. Here’s how to optimize without losing quality:
Remember: a large 2MB featured image can be the difference between a 90+ Google PageSpeed score and a failing one.
Here are the most useful plugins and tools to streamline your workflow:
Here’s the condensed version you can pin to your desk:
For the WordPress featured image blog post Divi size the rule of thumb is to balance quality with performance. After testing across layouts and devices the best workflow is to upload images at 2x the recommended size—for example 1200×675 for landscape blog thumbnails or 2160×1350 for full-width Divi modules. This way you get sharp images on retina screens and small file sizes.
Add Divi’s custom image size registration in your functions.php (or a child theme) so WordPress always delivers perfectly cropped images without manual resizing. Saves time, no blurry images and a consistent design.
To make it even easier, grab our Divi Featured Image Size guide and try the sample code snippet above—you’ll never second guess your image sizes again.
Elevate your WordPress hosting with 30-day money-back guarantee, free migration, and 24/7 support.
Sign Up Today

Before You Go… Get 1 Month FREE on Rocon Hosting!

Experience lightning-fast speeds

No downtime or hidden fees

Dedicated 24/7 expert support

Social Sharing, Open Graph, and Structured Data
Here’s a trap many Divi users fall into: an image looks perfect on the site but shows up cropped or pixelated when shared on Facebook or LinkedIn. That’s because social platforms pull from Open Graph (OG) tags, not from what Divi displays.
Best practice:
By separating social images from Divi images, you guarantee both look their best — no matter the platform.