How to Change Domain Name of WordPress Site: Rocon Free Help
May 16, 2025 by Adam
May 16, 2025 by Adam
How to change domain name of WordPress site: Renaming your domain name is daunting—especially when you’re running a live WordPress website with regular traffic, SEO worth, and established users. Nevertheless, the majority of site proprietors have to tackle this at some point. Either it’s because of a large-scale rebranding effort, a strategic refashioning of your web presence, or simply a move to a shorter, easier-to-remember domain, the procedure must be undertaken with caution.
A domain name is more than a web address. It’s a virtual identity that affects your brand visibility, credibility, search rankings, and even user trust. Unless done properly, a domain name change can result inbroken links, lost traffic, and lost rankings. But done properly, it can be a seamless switch that enhances your site authority and user experience.
In this thorough tutorial, we’ll walk you through exactly how to change the domain name on your WordPress site, step for step. That includes preparation, technical changes within WordPress and web hosting, database transfers, redirects, and best practices for post-migration SEO. Whether you’re a complete newbie to site admin or a veteran pro, this article will give you everything you need to successfully carry out a domain name change.
There are plenty of legitimate grounds for why the owners of sites might decide to change domain names. The most typical reason for this is rebranding. A fresh new brand typically involves a name in your domain reflecting your new name, vision, or specialty.
Others change domains to improve clarity, trust, and SEO potential. For example, if your old domain was hard to spell or remember, switching to something shorter and cleaner can improve direct traffic and branding consistency. Similarly, if you’ve secured a premium domain with your primary keyword or geographic focus, making the switch could be a smart business decision.
Domain changes might also be necessary, if you’re moving from a free subdomain (yoursite.wordpress.com) to a custom one (yoursite.com), or if you’re moving multiple sites under a new brand. Others are similarly compelled by trademark, business, or acquisition. Regardless of the reason, changing the domain name must be well planned and executed smoothly in order to maintain continuity.
Changing a domain isn’t just a technical task—it’s a strategic move that requires preparation. Before jumping into WordPress settings, ensure you’ve checked off this pre-change list.
A complete site backup is your guarantee. Use quality plugins like UpdraftPlus, BlogVault, or backup tools offered by your host to download your entire database and all website files. Make sure your backups are saved in a secure location—either on a cloud drive or local machine.
This snapshot can be rolled back in case something goes awry during the transition. It also allows you to roll back to the original version in case of downtime or data loss. Even experienced developers never skip this step, as domain changes affect multiple facets of a website ecosystem.
Inform your internal team, clients, and partners of the upcoming change. If your site is live and customer-facing, consider announcing the transition in advance through a banner, blog post, or email newsletter.
It applies to marketing teams, SEO managers, and copywriters—anyone who’s used to URLS or analytics must be informed. It keeps everyone on the same page and aligns updating marketing campaigns, ads, and social media links.
A domain change must be carried out at a period of low website traffic. Avoid holidays, product launches, or other mission-critical periods. Use Google Analytics or other means to identify downtime and schedule accordingly.
In addition, make sure that there is no outstanding update for content, conflict of plugins, or server updates. You would want the transition to occur in a stable environment, thus all arrangements for the domain transition without disturbance by other changes.
If you haven’t already, buy your new domain name from a trustworthy registrar. Second, register the domain with your hosting account using domain management features. Update DNS configurations (usually A or CNAME records) so your new domain points to the correct hosting server.
DNS updates can take a few hours to trickle down, so provide some buffer time. Test with DNS test utilities like DNSChecker.org after being implemented for worldwide update status.
Now let’s dive into the technical steps. These instructions assume you’re keeping the same hosting provider and WordPress installation—just updating the domain name.
After logging into your WordPress dashboard, go to:
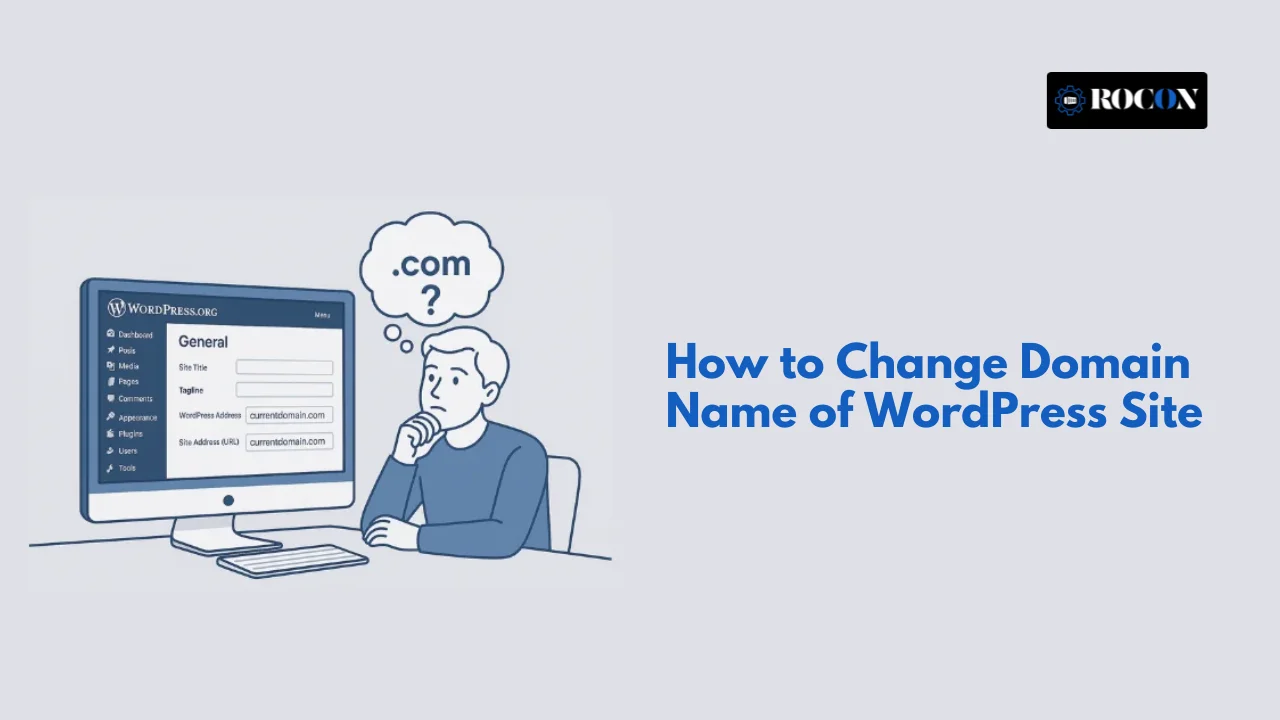
Settings → General
Change the WordPress Address (URL) and Site Address (URL) from your old domain to the new one. Make sure to use the full path, including https:// if you have SSL enabled.
Once saved, WordPress will attempt to reload using the new domain. This may log you out immediately. You’ll need to log in again using the new domain to continue working on your site.
This basic step updates core URLs that define how WordPress loads resources and links pages. However, it doesn’t update content already embedded throughout the site.
Some hosting setups override database settings with values hardcoded in wp-config.php. If you previously added those, you’ll need to update them now.
Access your site using FTP, SFTP, or cPanel’s File Manager, then locate the wp-config.php file in the root directory.
If these lines are present, update them:
php
define(‘WP_HOME’,’https://yournewdomain.com’);
define(‘WP_SITEURL’,’https://yournewdomain.com’);
Or, if they’re not there, you can add them just before the line that says /* That’s all, stop editing! */.
Adding this helps prevent any issues with WordPress loading improperly after the switch and ensures consistent behavior during migration or restoration.
Even after updating the site URL, WordPress stores internal links, image URLs, and file paths that still reference your old domain. These need to be updated to reflect the new domain.
Install plugins like Better Search Replace, Velvet Blues Update URLs, or WP Migrate DB to scan and update URLs across your entire database.
With Better Search Replace:
These plugins ensure that embedded links, image paths, menu items, and shortcodes reflect the new domain structure without manual editing.
Developers can use phpMyAdmin or similar tools to run SQL commands that update records directly. Be sure to back up your database before executing queries.
This method is more precise but riskier if errors occur. Always test thoroughly on staging before applying to a live site.
Redirects ensure visitors and search engines are guided from your old domain to the new one. This is essential for SEO, brand continuity, and usability.
Modify the .htaccess file in the old domain’s root folder:
apache
RewriteEngine On
RewriteCond %{HTTP_HOST} ^olddomain\.com$ [OR]
RewriteCond %{HTTP_HOST} ^www\.olddomain\.com$
RewriteRule ^(.*)$ https://newdomain.com/$1 [R=301,L]
This permanent redirect passes link equity and ensures that bookmarks, backlinks, and search engines correctly route users.
If you’re using cPanel, Plesk, or DirectAdmin, look for a “Redirects” option in your dashboard. You can add a domain-wide 301 redirect with a few clicks—no code needed.
Redirects should remain in place for at least 6–12 months to allow search engines to reindex your site and visitors to adjust.
Search engines need to be informed of the change to preserve rankings and crawl your new domain effectively.
Log in to Google Analytics Admin settings. Under “Property Settings,” update the Default URL to your new domain. This ensures accurate tracking and attribution going forward.
Also, consider setting up Google Tag Manager or GA4 for more advanced data continuity across the transition.
This step is often overlooked but is crucial. Manually go through:
Additionally, update any links in your email marketing, social media bios, business directories, and third-party platforms. Tools like Ahrefs or Screaming Frog can help identify links pointing to the old domain that still need to be updated.
Changing a domain naturally impacts your site’s SEO. Here’s how to retain rankings and visibility:
Your new domain needs its own SSL certificate, even if you had one installed previously. If you’re using HTTPS:
Secure certificates build trust with visitors and are a confirmed Google ranking factor. Be sure to test HTTPS status with tools like SSL Labs.
Here are a few pitfalls that can derail a domain change:
Plan meticulously, execute carefully, and test thoroughly after implementation
After the switch:
Continue promoting your new domain and remind your audience to update their bookmarks.
Change domain name of WordPress site isn’t just a technical task—it’s a brand transition. With the right tools, timing, and precautions, you can make this change smoothly while maintaining SEO, uptime, and user experience.
Whether you’re upgrading your brand or consolidating websites, following these steps ensures a clean, confident transition.
Need expert help migrating your WordPress site to a new domain?
Rocon offers fully managed WordPress hosting with free migrations, auto-scaling performance, and enterprise-grade support. Whether you’re rebranding or building from scratch, we’ll help you launch and scale without the stress.
Elevate your WordPress hosting with 30-day money-back guarantee, free migration, and 24/7 support.
Sign Up Today

Before You Go… Get 1 Month FREE on Rocon Hosting!

Experience lightning-fast speeds

No downtime or hidden fees

Dedicated 24/7 expert support


Leave a Reply