How to Start a Photography Business 2025 – Rocon’s Free Offer
May 5, 2025 Written by rocon_rocon
May 5, 2025 Written by rocon_rocon
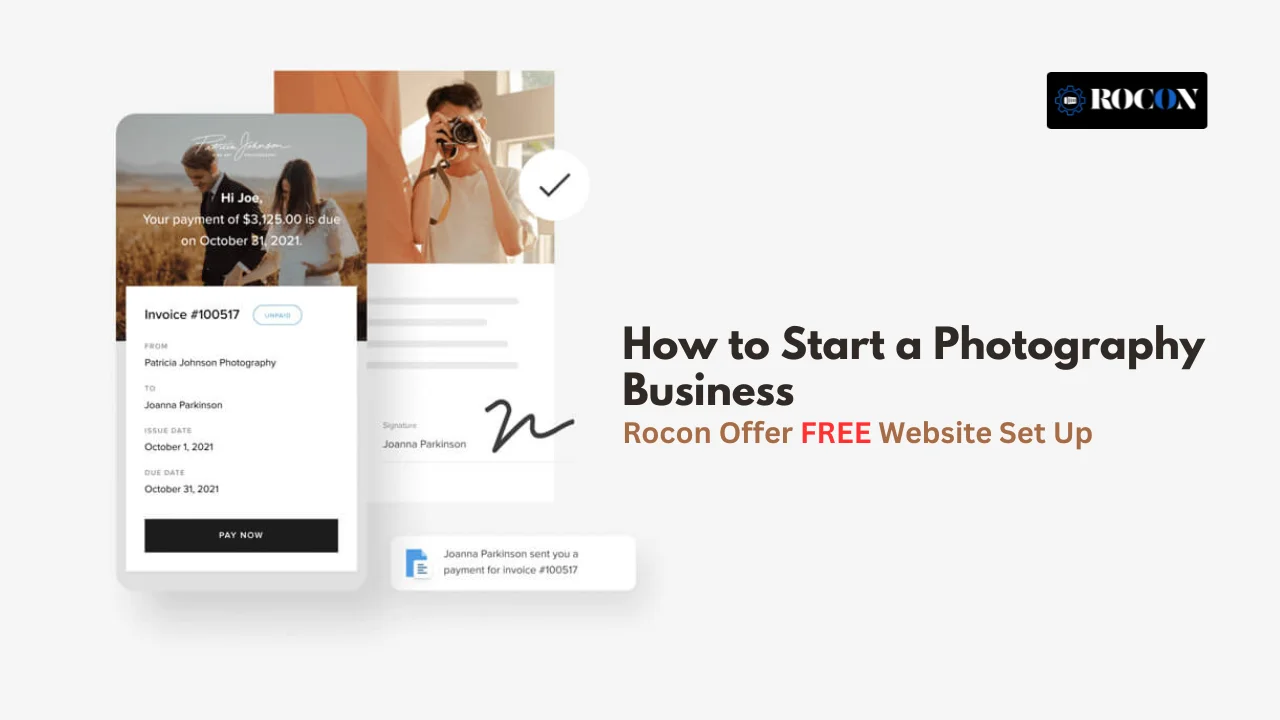
Have you been asking yourself, How to start a photography business? or Is photography even profitable anymore? If so, you’re not alone—and yes, it is.
Whether you’re taking great shots on your phone or already have a camera, turning your passion into a real business is possible. From weddings and portraits to real estate listings and product shoots, professional photography is in demand everywhere.
But here’s the thing—starting can be overwhelming. You’ve probably searched things like how much money do I need, what gear should I buy, how do I get clients, or how to build a portfolio. We get it.
That’s why we’ve created this step-by-step guide—to walk you through everything you need to know, without the confusion. And we’ll even show you how to get a free professional website with Rocon.

Before you start shooting and editing, you’ll want to get clear on two big things—what kind of photography you want to do and what you’ll call your business.
Your niche helps you stand out in a crowded market. Are you into emotional weddings, sleek real estate interiors, adorable newborns or powerful product shots for brands? Pick a niche that gets you excited and plays to your strengths.
Next, choose a name that’s professional but still you. This is what people will remember and search for—so make it easy to say, relevant to your style and something you’ll be proud to share.
Here are a few niche+name combos to get you started:
And don’t worry—you can always add more services later. Starting with a focus just makes marketing (and getting clients!) so much easier.

Now that you’ve chosen a niche and a name you love, it’s time to make your business official. This might sound scary but it’s easier than you think and super important if you want to grow with confidence.
Depending on your country or state you’ll need to register your business as a Sole Proprietor, LLC or Partnership. This keeps everything legal and protects you financially and opens doors for future opportunities.
Other things you might need:
These help you build trust with clients, separate your personal and business finances and lay the foundation for your photography brand.
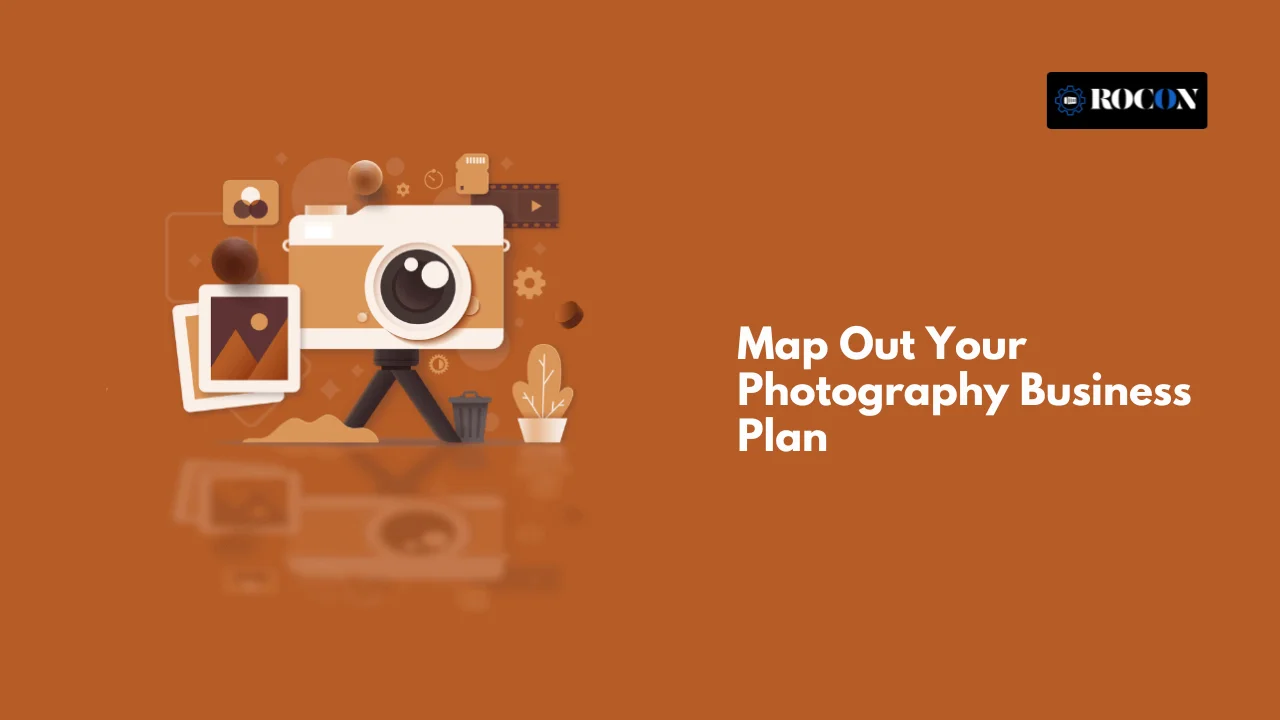
Now that you’re official, it’s time to think big—where do you want this business to go?
A business plan doesn’t have to be complicated. It’s just a roadmap that helps you stay on track, grow steadily and make smart decisions.
Here’s what to write down:
And here’s the bonus—if you host with Rocon, we’ll design your website for free, so you can launch like a pro without the tech stress.
You don’t have to go broke to get started but having the right gear can make a big difference in the quality of your work and your confidence.
Start with the basics:
These will get you going. As your business grows you can add more specialized gear like a drone, macro lens or studio setup depending on your niche.
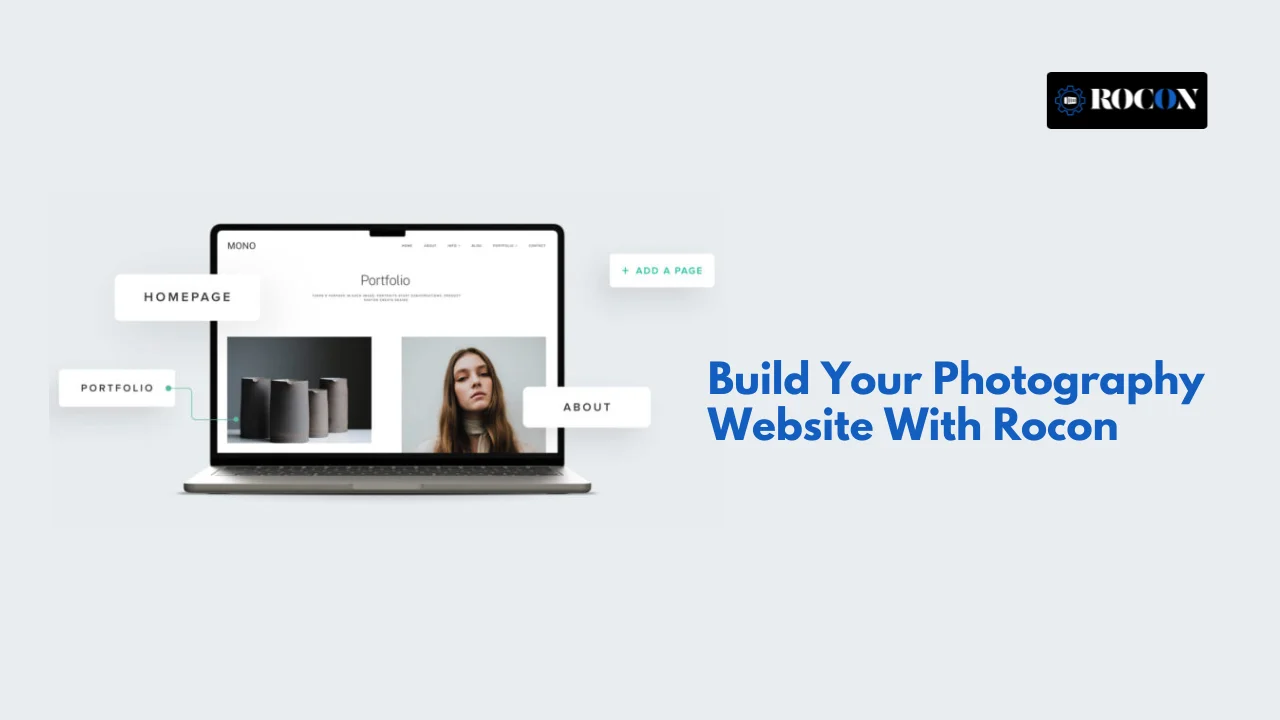
Your website is your online shop window – it’s where people first find you, see your work and decide to get in touch.
At the very least your site should have:
Rocon is offering free website design and development for photographers just starting out. Whether you need a portfolio or a site to sell prints online, Rocon will get you set up professionally – without the upfront cost.
Interested? Book a free call with Rocon and let’s do it.
A memorable brand gets your photography business noticed and trusted. Here’s how:
Keep it simple, professional and your style.
2-3 colors and fonts that match your vibe—romantic, bold, minimal etc.
Edit your photos in a way that creates a recognizable look across all platforms.
Examples: “Capturing Stories Through Light” or “Real Moments, Timeless Images.”
Use your logo, colors and style on your website, social media and print materials.
Aim for a brand presence so strong clients recognize your work instantly even without seeing your name.
Pricing your photography services is the foundation of a successful business. Here’s how to do it:
Look at what other photographers in your area and niche are charging.
Time, equipment, travel, editing, software.
Don’t undersell yourself—price yourself for your quality and time.
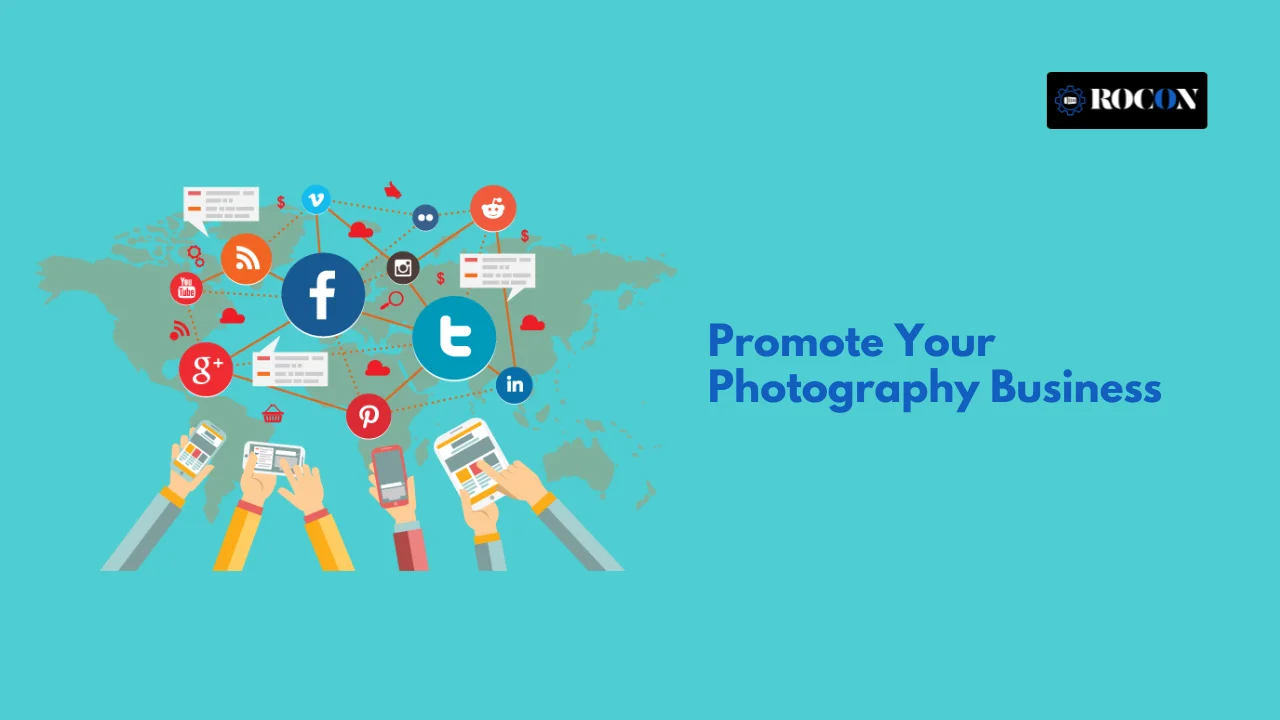
Marketing is the key to getting clients. Use these to grow your visibility:
Focus on Instagram and Pinterest—post often, use location tags and hashtags.
Set up your profile so locals can find you through search and maps.
Engage in local or niche groups where your ideal clients are.
Share behind the scenes, client experiences and tips—good for SEO.
Network with event planners, real estate agents and other professionals for referrals.
Happy clients are your best promoters—ask them to share their experience.
Running a photography business is more than just taking great photos—you also need to be organized and professional:
Use HoneyBook, Wave, or Pixieset for smooth payments.
Have a contract for every shoot to protect yourself and your client.
Use Calendly or Google Calendar to avoid double-booking and time management.
Communicate clearly, deliver on time, and be responsive—happy clients = referrals.
Keep track of income and expenses, and stay on top of taxes (get help if needed).
You don’t need a big studio to start—you just need passion and creativity:
Window light is great for portraits and product photography.
A blank wall, a backdrop, or your backyard can be a studio.
Meet clients at their homes, outdoor spots or rented spaces.
Don’t over invest early—scale up once you have a steady income.
Start with free or discounted shoots to gain experience and show your style.
One of the best things about photography? You get to choose.
There’s no one-size-fits-all here. Whether you love candid moments, styled setups or high-energy events, there’s a photography niche for you—and each has its own demand, challenges and creative freedom.
Here are some of the most popular types of photography you can turn into a business:
Capture emotional moments and once in a lifetime memories. Great for people who love storytelling and working with couples.
Think family shoots, seniors, branding photos for creators and everyday moments. A flexible and high demand niche.
Perfect if you love clean lines, symmetry and helping realtors show off spaces with bright professional images.
Help brands sell with scroll stopping images for websites, catalogs and social media.
Cover everything from corporate functions to birthday parties. If you’re quick on your feet this one’s for you.
Create timeless images for growing families—requires patience, soft skills and a cozy vibe.
Great for food bloggers, restaurants and cookbooks. Pairs well with styling and editing skills.
Work with models, designers or magazines to create artistic high impact visuals.
Ideal if you love nature, adventure and sharing the world through your lens.
The best part? You don’t have to choose just one forever. Start with a niche that excites you, build experience and explore others as you grow.
So you want to turn your passion for photography into a business? You’re not alone. But before you start booking clients and snapping shots, you need to know the costs involved. Like any new business, there are some upfront expenses to plan for.
Clients will expect you to show up with your own professional equipment. At the very least, you’ll need a good DSLR camera—which can start around $700—and a decent lens—which can add another $300 or more. If you’re going for high-end work, you might end up spending several thousand dollars on just your main setup.
Don’t forget accessories like tripods, external flashes, memory cards, protective gear and maybe even a second camera body. All of that adds up fast, especially if you’re shooting in different locations or need backup equipment.
Once the shoot is over, the real work begins—editing. Most professional photographers use software like Adobe Lightroom and Photoshop. Adobe has a few subscription plans, usually ranging from about $20 to $55 per month depending on the features you need.
If you’re just starting out and watching your budget, there are a few free or low-cost options out there (like Apple Photos or open-source tools), but most pros end up investing in a more powerful editing suite.
Depending on where you live and how you want to structure your business (like an LLC or sole proprietorship), you may need to file legal documents to make it official. This can mean hiring a lawyer or using online legal services, both of which come with a cost. Lawyers charge by the hour, while online platforms usually have a fixed fee that’s much lower.
You’ll likely need a business license to operate legally in your state or city. The cost and process varies depending on your location, so check your local government’s website or small business resources to figure out what’s required.
You can be the best photographer in town, but if no one knows about you, business won’t happen. That’s where marketing comes in. At the very least, you’ll need a website that shows off your portfolio, shares your contact info and helps clients understand what you offer.
You might also want business cards, social media pages and a logo to build your brand.You don’t have to break the bank—just get online and get found.
Like any career, owning a photography business comes with its own set of pros and cons. Let’s break it down:

So you wondering if you can actually make a photography business work in 2025? The answer is yes—absolutely. You’ve got the eye, the passion, and now the steps to follow. Whether you’re dreaming of shooting weddings, building brand visuals or snapping product shots, there’s space for you in this industry.
Start where you are. Use what you have. Grow as you go. You don’t need a fancy studio or expensive gear to be taken seriously—just a strong brand, consistent effort and a willingness to learn.
And if building your online presence feels like the scary part, don’t worry. That’s where Rocon comes in. We’ll help you get your photography website up and running for free—no tech headaches, no design guesswork.
You’ve got the talent—now let’s turn it into a business.
Ready to get started? Book your free Rocon setup call today.
Nope. While a DSLR or mirrorless camera gives you more control and quality, many photographers start with a good smartphone and upgrade as they grow.
You can start small with $500–$1,000 for basic gear and setup. Many tools (like websites through Rocon) are free or low-cost when starting out.
Yes! Many photographers shoot in natural light, use home setups, or go on-location. You can build a great business without a studio.
Start by offering sessions to friends and family, post your work on Instagram, join local Facebook groups, and ask happy clients for referrals.
Weddings, product photography, real estate, and branding shoots tend to be the most profitable, especially with repeat or business clients.
Elevate your WordPress hosting with 30-day money-back guarantee, free migration, and 24/7 support.
Sign Up Today
May 15, 2026
Maria
May 8, 2026
Nitish
Before You Go… Get 1 Month FREE on Rocon Hosting!

Experience lightning-fast speeds

No downtime or hidden fees

Dedicated 24/7 expert support

Leave a Reply