Transfer WordPress Website to New Host Easily & Securely
January 29, 2025 by Maria
January 29, 2025 by Maria
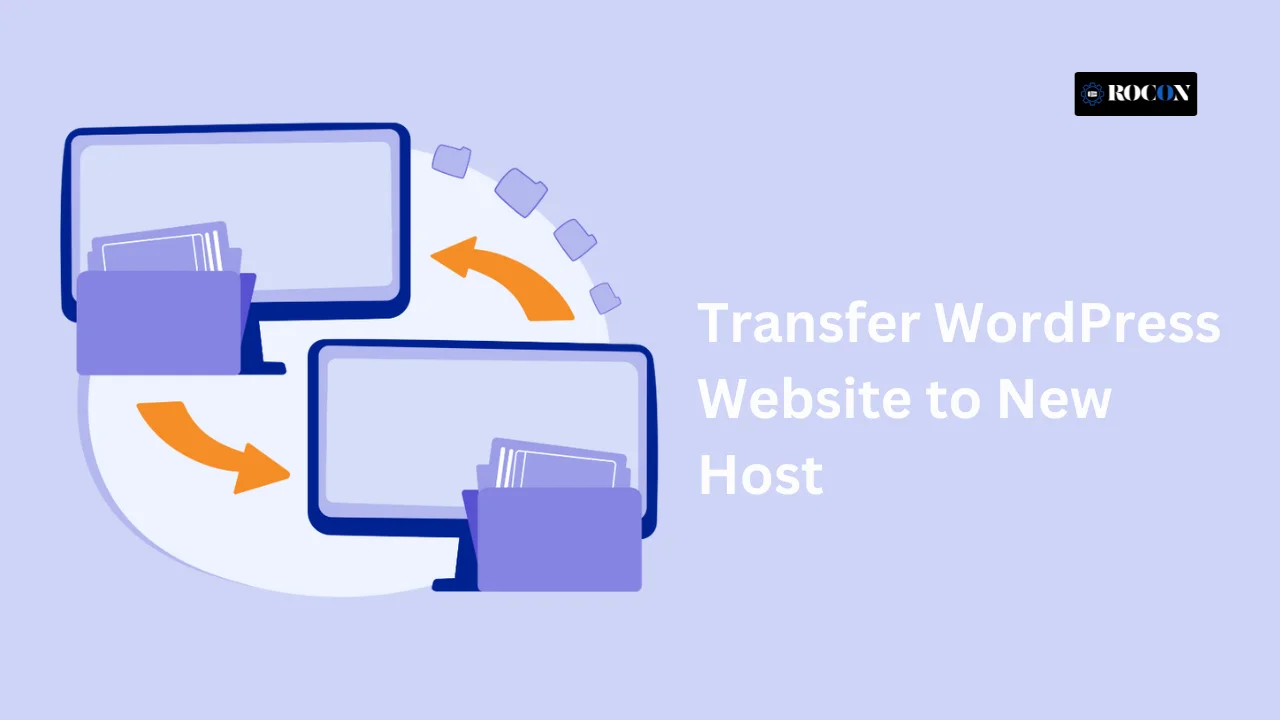
Transfer WordPress Website to New Host: Migration of a WordPress site to a new host allows upgrading performance, cost-effectiveness, and overall site reliability. Be it due to the limits imposed by your current web host or with the intent of unlocking better features, this process might seem daunting yet is fairly doable in a step-by-step manner. This guide is intended to help you make such migration smoothly without any downtime or loss of data smoothly.
Transferring a WordPress website to a new host can be quite daunting, especially if it is your first time. With some careful planning, though, and with the right approach, you will be able to make sure that this transfer goes through smoothly, without any data loss or downtime. In this article, we are going to take you through each step of transferring your WordPress website to its new home.
Reasons for moving your WordPress site to a new host could include:
Whatever be the reason, the correct migration process keeps your site running smoothly during the shift.
Looking for a smooth website migration? Switch to Rocon’s fast and reliable WordPress hosting. Enjoy hassle-free transfers with expert support.
Start by creating a backup of your WordPress website. This includes:
Alternatively, use a backup plugin like UpdraftPlus, Duplicator, or All-in-One WP Migration to create and download a backup.
Prepare your new host for the migration by completing these steps:
Take note of the database name, username, and password as you’ll need these later.
Upload your WordPress files to the new host:
Next, import your WordPress database to the new host:
Edit the wp-config.php file to ensure it connects to the new database:
Open it in a text editor and update the following lines:
define(‘DB_NAME’, ‘your_new_database_name’);
define(‘DB_USER’, ‘your_new_database_user’);
define(‘DB_PASSWORD’, ‘your_new_database_password’);
Before making the site live, test it to ensure everything is working correctly:
Point your domain to the new host by updating its DNS records:
Once the DNS changes propagate:
Take time to research and compare hosting providers. Look for features like high performance, security, scalability, and a user-friendly control panel. Providers offering migration assistance or managed hosting services can simplify the process.
Before migrating, ensure that your plugins and themes are compatible with the new host’s server environment. Some features might require adjustments or updates.
Migrating a website can temporarily affect SEO rankings. To mitigate this, update internal links, submit a new sitemap to search engines, and monitor analytics to address any sudden changes in traffic.
Switch to Rocon WordPress Hosting for fast, secure migration. Experience seamless transfers with expert support and optimized performance.
Migration of a WordPress site to a new host is strategic, and one that will potentially bring about considerable improvements in terms of performance, reliability, and scalability. Using a structured process will help to ensure a smooth transition with no downtime or data loss, unlocking the full potential of your website.
This will also be a great opportunity to audit your site architecture and optimize it for much better performance. Cleaning up plugins, updating themes, and setting up security will further improve the user experience and make managing the website easier.
In addition, migration to a robust hosting provider means upgrades in things like load times, customer support, and scalability. These advantages not only improve site performance but also align your website with long-term growth goals.
In the end, though migration involves a lot of planning and precise execution, choosing the right host pays off in so many ways. Take all the time to research, prepare, and test for your WordPress website to thrive on its new platform. Happy migrating!
Elevate your WordPress hosting with 30-day money-back guarantee, free migration, and 24/7 support.
Sign Up Today

Before You Go… Get 1 Month FREE on Rocon Hosting!

Experience lightning-fast speeds

No downtime or hidden fees

Dedicated 24/7 expert support


Leave a Reply